

Build your own MCP server for design tokens
A complete tutorial for connecting your design tokens to Claude Desktop via MCP

👋 Get weekly insights, tools, and templates to help you build and scale design systems. More: Design Tokens Mastery Course / YouTube / My Linkedin
MCP (Model Context Protocol) is a new way to connect your tools and data directly to Claude Desktop, eliminating the copy-paste workflow. I've already written about MCPs and top connections, but today I want to show you how to stop copying and pasting to Claude and ask for help with design tokens (naming, creating, checking).
We're creating a "bridge" that lets Claude read your design tokens directly from your files.
What you'll have in 30 minutes:
Real-time token access (no more outdated values)
Bidirectional updates (read AND write tokens)
Persistent context across all conversations
Zero copy-paste workflow
Tools needed:
Cursor or Claude Code,
Claude desktop (for adding MCP)
Your design tokens in JSON format
Basic terminal knowledge (we'll guide you through everything)
Node.js v16+ installed
Check your setup:
node --version  # Should show v16.0.0 or higher
npm --version   # Should show v7.0.0 or higher
Use cases to inspire you:
Token Migration
"Generate a migration guide from gray-300 to neutral-300"
"Create aliases for all primary colors"
"Convert all px values to rem"
Documentation Generation
"Create a markdown table of all spacing tokens"
"Generate CSS custom properties from our tokens"
"Build a component-token mapping"
Cross-Reference Analysis
"Which tokens are used in our Button component?"
"Find unused tokens in our system"
"Show token usage statistics"
Okay, let’s start. 😊
When working with design tokens, most people follow this approach.
1. Open your-design-tokens.json
2. Copy the entire file
3. Paste into Claude or ChatGPT
4. Ask a question
5. Realize it's outdated
6. Find the latest version
7. Repeat 🫠
After you create and install MCP, your workflow will look like this:
1. Ask Claude anything
2. It reads the ACTUAL files
3. Always current, always accurate
➡️ Step 1: Create Your MCP Server Directory
# Create a new directory for your MCP server
mkdir design-tokens-mcp
cd design-tokens-mcp

# Initialize a new Node.js project
npm init -y

# Install the MCP SDK
npm install @modelcontextprotocol/sdk
➡️ Step 2: Create the Basic File Structure
design-tokens-mcp/
├── package.json
├── index.js           # Your MCP server (we'll create this next)
├── tokens/            # Your design tokens directory
│   ├── colors.json
│   ├── spacing.json
│   └── typography.json
└── .env              # For sensitive configuration (optional)
Add some example tokens OR copy-paste your real ones to your folder.
{
  "primary": {
    "blue": "#0969DA",
    "blue-light": "#2B85FF",
    "blue-dark": "#0550AE"
  },
  "semantic": {
    "error": "#CF222E",
    "warning": "#F59E0B",
    "success": "#10B981",
    "info": "#0969DA"
  },
  "neutral": {
    "white": "#FFFFFF",
    "gray-10": "#F6F8FA",
    "gray-50": "#656D76",
    "gray-90": "#24292F",
    "black": "#000000"
  }
}
➡️ Step 3: Create Your MCP Server
Copy and paste the prompt below. Tell Cursor (or whichever tool you are using) where your JSON files are saved.
Create an MCP server for design tokens with these features:
1. Read all JSON files from a tokens directory (or instruct to use API/GitHub/Gitlab)
2. Allow querying specific token values
3. List all available tokens
4. Search tokens by name or value
5. Update token values and save back to files

Use the @modelcontextprotocol/sdk package.
Include these tools:
- get_token: retrieve a specific token value
- list_tokens: show all available tokens
- search_tokens: find tokens by pattern
- update_token: modify a token value

Make it production-ready with error handling.
➡️ Step 4: Add Your Design Tokens
The easiest way to test this flow is to connect 📁 Local JSON files. If you use GitHub or GitLab, you need to follow the instructions below.
📁 GitHub Integration (Advanced)
Replace the loadTokens function with GitHub integration:
npm install @octokit/restUpdate your loadTokens function:
import { Octokit } from '@octokit/rest';

async function loadTokensFromGitHub() {
  const octokit = new Octokit({
    auth: process.env.GITHUB_TOKEN,
  });

  const { data } = await octokit.repos.getContent({
    owner: process.env.GITHUB_OWNER,
    repo: process.env.GITHUB_REPO,
    path: 'tokens',
    ref: process.env.GITHUB_BRANCH || 'main',
  });

  for (const file of data) {
    if (file.name.endsWith('.json')) {
      const content = await octokit.repos.getContent({
        owner: process.env.GITHUB_OWNER,
        repo: process.env.GITHUB_REPO,
        path: file.path,
      });

      const decoded = Buffer.from(content.data.content, 'base64').toString();
      const fileName = path.basename(file.name, '.json');
      tokens[fileName] = JSON.parse(decoded);
    }
  }
}
Update Claude config with environment variables:
{
  "mcpServers": {
    "design-tokens": {
      "command": "node",
      "args": ["/path/to/design-tokens-mcp/index.js"],
      "env": {
        "GITHUB_TOKEN": "ghp_your_token_here",
        "GITHUB_OWNER": "your-org",
        "GITHUB_REPO": "design-system",
        "GITHUB_BRANCH": "main"
      }
    }
  }
}
📁 GitLab Integration (Advanced)
npm install @gitbeaker/node➡️ Step 5: Configure Claude Desktop
On macOS:
~/Library/Application Support/Claude/claude_desktop_config.jsonOn Windows:
%APPDATA%\Claude\claude_desktop_config.jsonOn Linux:
~/.config/Claude/claude_desktop_config.jsonGet Your Project Path
In your terminal, navigate to your project and run:
pwd
# Example output: /Users/yourname/projects/design-tokens-mcp
Add MCP Configuration
Edit the configuration file and add:
{
  "mcpServers": {
    "design-tokens": {
      "command": "node",
      "args": ["/Users/yourname/projects/design-tokens-mcp/index.js"],
      "env": {}
    }
  }
}
Important: Replace /Users/yourname/projects/design-tokens-mcp with your actual path from the pwd command.
Step 6: Test Your MCP Server
Restart Claude Desktop (completely quit and reopen)
Start a new conversation
Try these test commands:
"List all my design tokens"

"What's the value of colors.primary.blue?"

"Search for all tokens containing 'gray'"

"Update colors.semantic.success to #22C55E"

"Show me all spacing tokens"

"Find tokens with value #0969DA"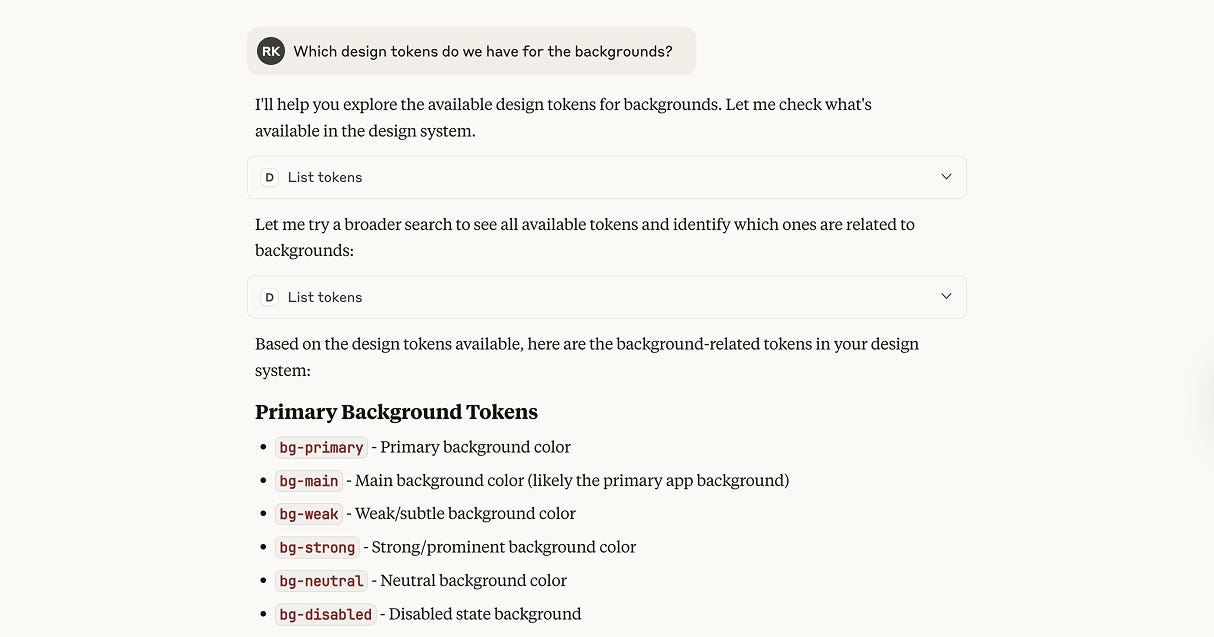
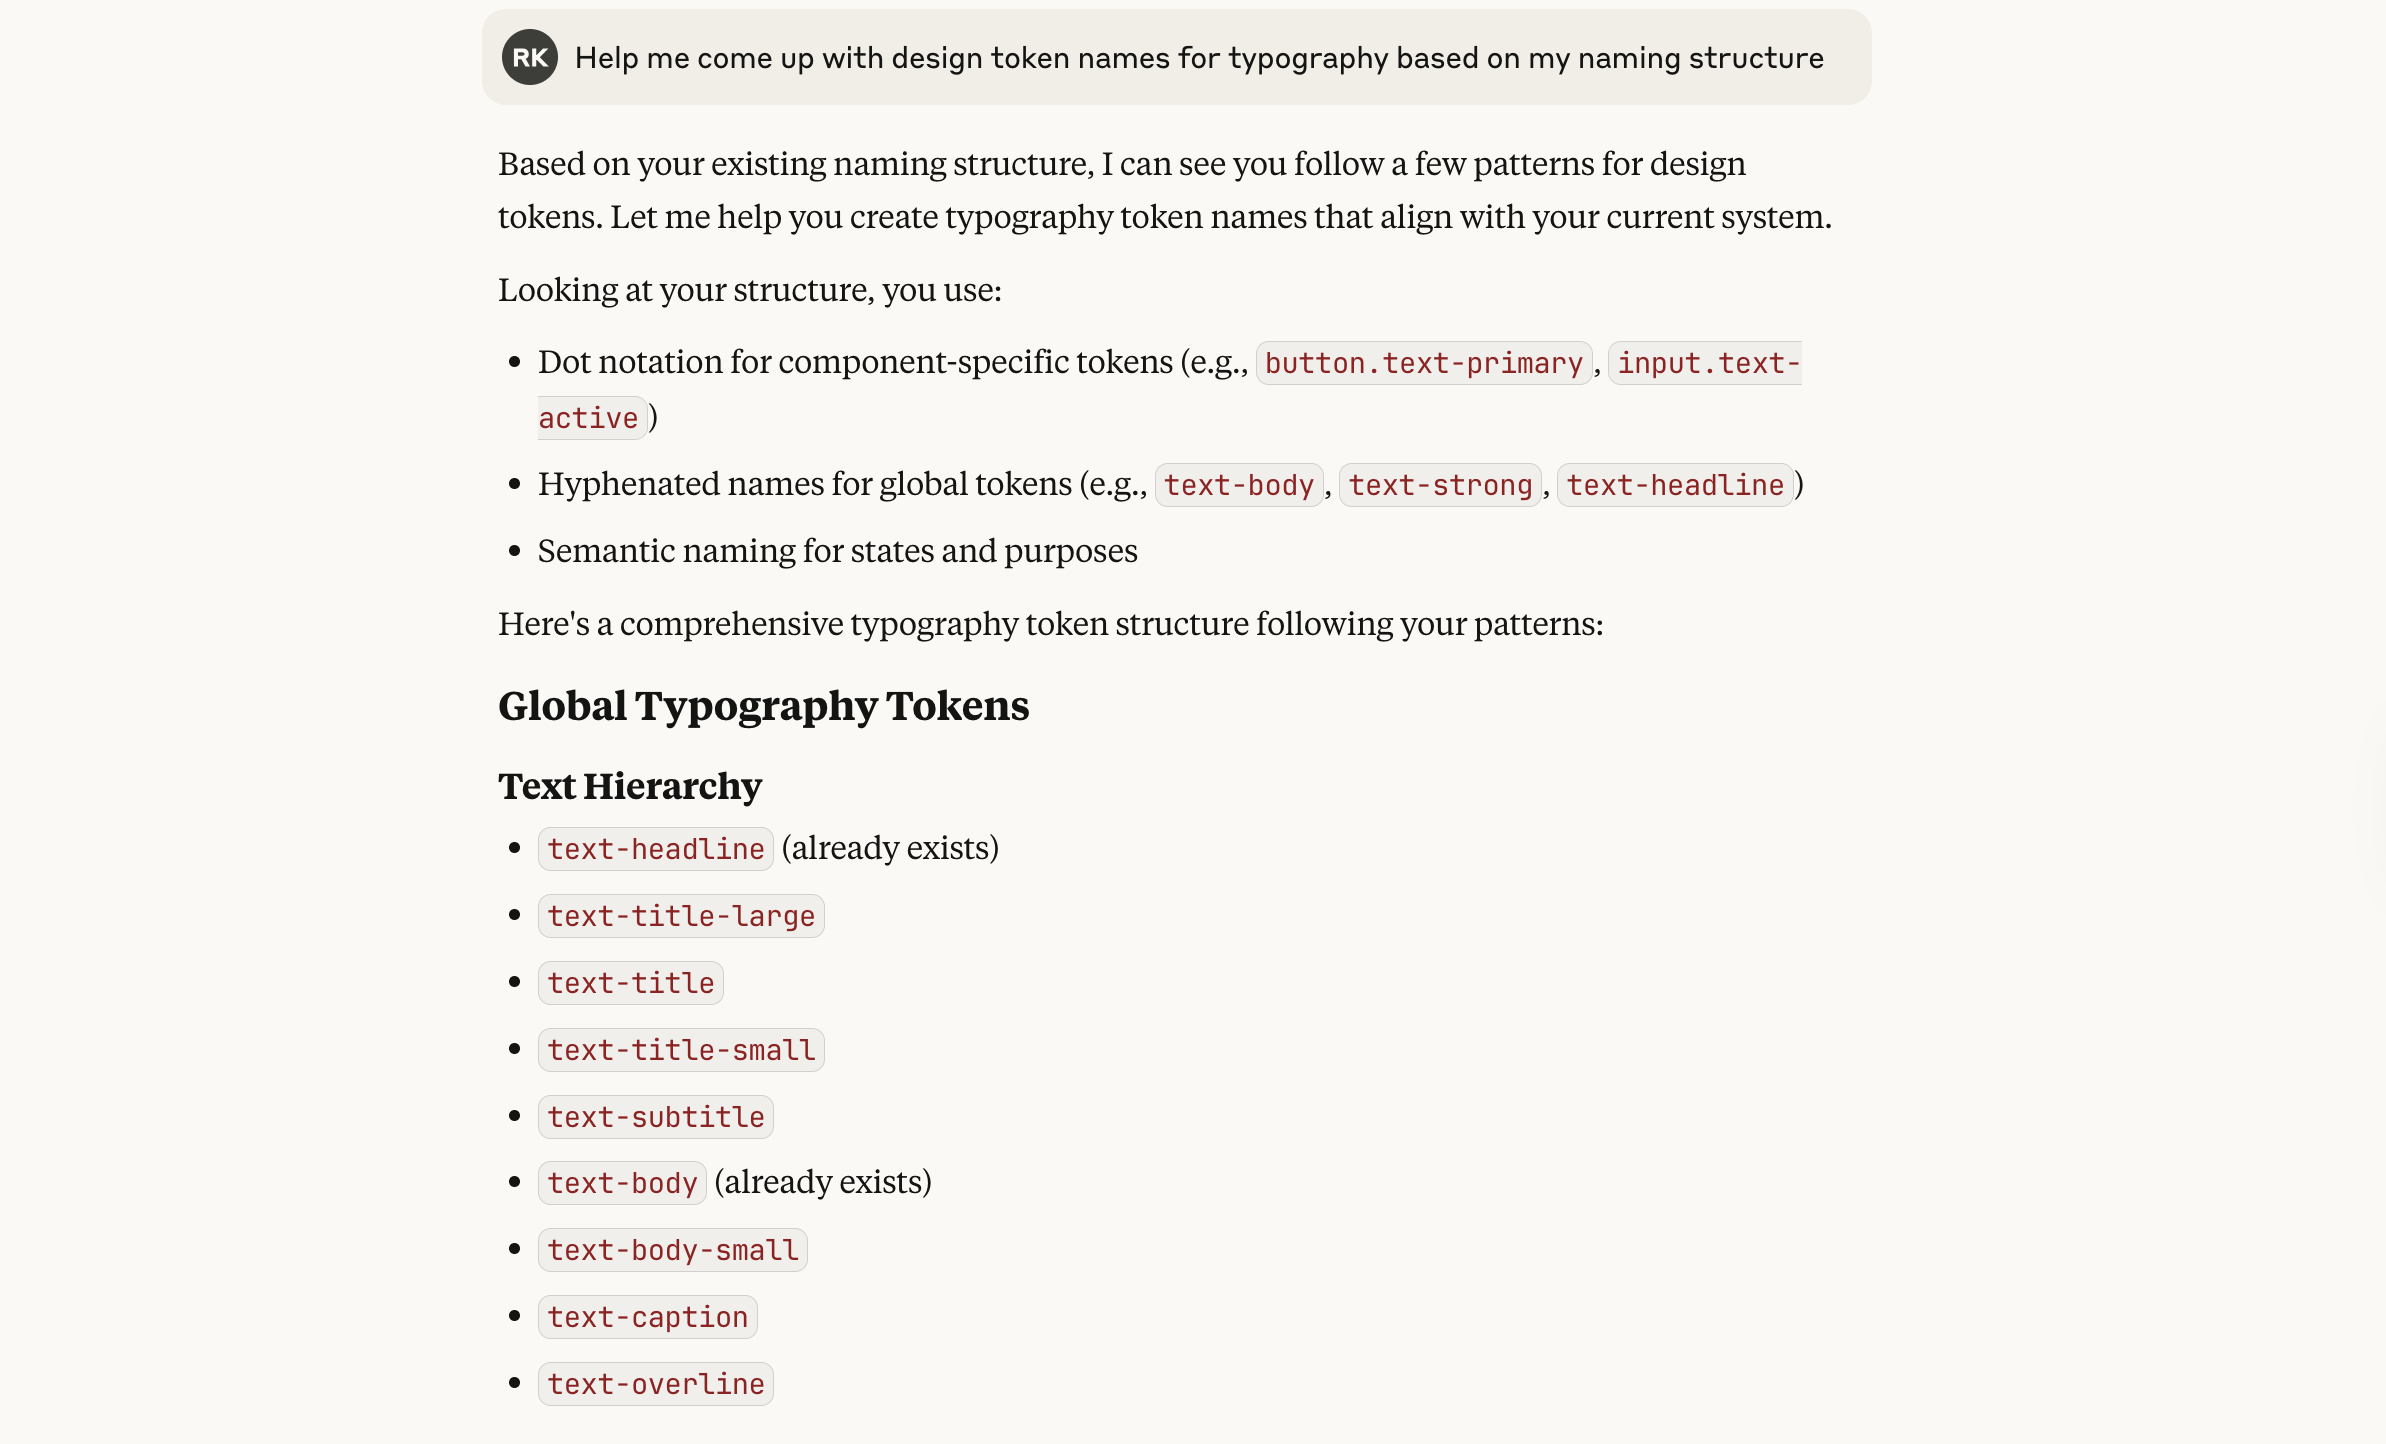
Or, you can also ask for help with generating new names.
How do you know it is working?
As you can see above, there is a small “D” in front of “List tokens”. This is my MCP server.
When working correctly, Claude will:
Show tool usage indicators when accessing tokens
Return actual values from your files
Confirm successful updates
Be careful ⚠️
Never commit sensitive tokens to git
Add
claude_desktop_config.jsonto.gitignoreUse environment variables for API keys
Token Permissions
GitHub tokens only need
reposcope for readingUse read-only tokens when possible
Use .env files for local development
Why this flow helps you:
Always updated
Context persistence (available in the chat)
Automation opportunities
Every team member who has access can use the same data.
Enjoy exploring. ✌️
— If you enjoyed this post, please tap the Like button below 💛 Thank you.
💎 Community Gems
✨ Inside Firefox's Figma File
🔗 Link
Inspect & Reflect Wise com's Design System
🔗 Link
Summer AI inspiration links for designers
🔗 Link
This is awesome Romina! Thanks for sharing
Love this article!